Testing Android apps USB communication on GitHub Actions with QEMU/KVM
Many years ago, I started developing EtchDroid as a hobby, free-software project born out of necessity. EtchDroid is a simple app for writing images to USB drives from an Android device without requiring root access. Over the years, it has become popular, proving useful and reliable for many users. I’m really proud of it.
Unfortunately, the same can’t be said for Android’s USB APIs, USB drives, USB OTG adapters, USB ports, and Android devices: they’re all unreliable. Some time ago, I decided to address this issue by adding an essential feature: the ability to resume writing whenever the process is interrupted. I’ve rewritten the app’s UI and backend to support this feature. Now, it’s not only prettier and more user-friendly, but it’s also more reliable than ever.
Manual testing has worked well enough, but I’ve long wanted to automate this process. Manual testing is boring, time-consuming, and takes away from the fun of working on what remains a hobby project. Unfortunately, no CI/CD solution I examined supported nested virtualization (except Travis CI, which is no longer free for open-source projects). That was until I discovered GitHub Actions recently changed their Azure instance type for Linux runners, doubling the cores and finally enabling nested virtualization.
The requirements
Before moving to GitHub Actions, I had to ensure the app could be tested in an emulator. While simple for most Android apps, it’s complicated if your app communicates with USB devices, as the Android emulator doesn’t support USB OTG effectively. Although it’s technically based on QEMU, USB hot-plugging is broken in the older QEMU version it uses.
This left me with one option: run Android in another virtualization software. I chose QEMU due to its wide usage, granular VM and hardware control, and no need for bespoke kernel modules like VirtualBox.
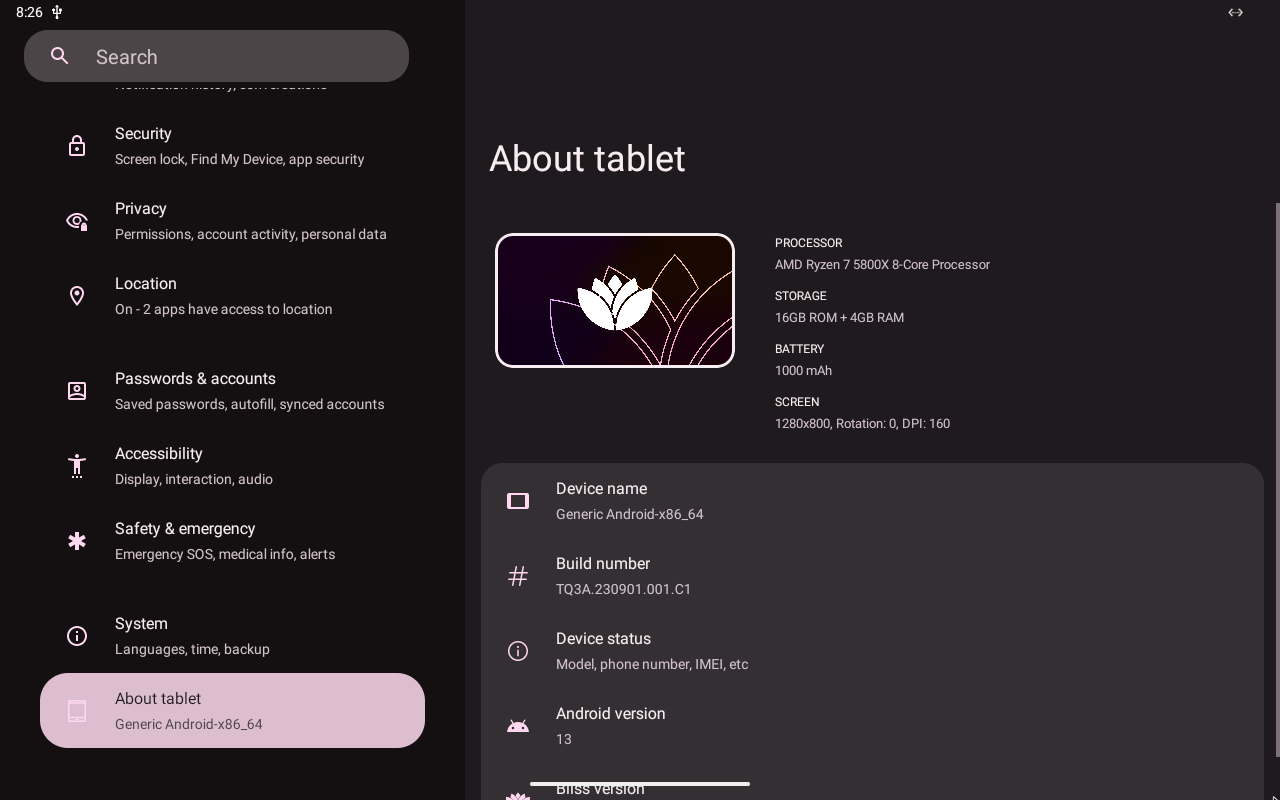
I selected the Bliss OS Android distribution, an actively maintained Android-x86 distribution based on Android 13 — at the time of writing reasonably up to date.
After minor adjustments, I easily ran Bliss OS in QEMU with an emulated, hot-pluggable USB drive. Bliss OS’s ISO
contains the kernel, initrd, and system image, making booting straightforward with -kernel, -initrd, -append, and
adding a system image drive. Forwarding the ADB port to the host was also necessary.
ISO="Bliss-v16.9.7-x86_64-OFFICIAL-foss-20241011.iso"
# Set up the loop device
sudo losetup -fP "$ISO"
# Find the allocated loop device
LOOP=$(sudo losetup -j "$ISO" | cut -d: -f1)
# Mount the first partition from the ISO
sudo mount "${LOOP}p1" /mnt
cd /mnt/

# Create an empty USB drive image
qemu-img create -f qcow2 /tmp/usb-storage.qcow2 2G

# Note: remove the comments below if you want to run QEMU yourself
qemu-system-x86_64 \
    -enable-kvm \
    # Forward the QEMU control sockets
    -qmp unix:/tmp/qmp.sock,server=on,wait=off \
    -monitor unix:/tmp/qemu-monitor.sock,server=on,wait=off \
    -cpu host \
    -smp 2 \
    -m 4096 \
    # Boot the kernel directly
    -kernel kernel \
    -initrd initrd.img \
    -append 'root=/dev/ram0 androidboot.selinux=permissive console=tty1 FFMPEG_CODEC=1 FFMPEG_PREFER_C2=1' \
    # System image
    -drive index=0,if=virtio,id=system,file=system.efs,format=raw,readonly=on \
    # Video and sound
    -device virtio-vga-gl -display sdl,gl=on \
    -audiodev pa,id=snd0 -device AC97,audiodev=snd0 \
    # Port forwarding for ADB
    -netdev user,id=network,hostfwd=tcp::5556-:5555 \
    -device virtio-net-pci,netdev=network \
    -usb \
    # Input device
    -device usb-tablet,bus=usb-bus.0 \
    # USB 3.0 controller
    -device nec-usb-xhci,id=xhci \
    # Emulated USB drive
    -drive if=none,id=usbstick,file=/tmp/usb-storage.qcow2,format=qcow2 \
    -device usb-storage,id=usbstick,bus=xhci.0,drive=usbstick,removable=on
Once the emulator is running, the USB drive can be unplugged and plugged back in using the QEMU monitor:
# Connect to the QEMU monitor
socat -,echo=0,icanon=0 unix-connect:/tmp/qemu-monitor.sock
QEMU 9.2.3 monitor - type 'help' for more information
(qemu) device_del usbstick
(qemu) drive_add 0 if=none,id=usbstick,file=/tmp/usb-storage.qcow2,format=qcow2
OK
(qemu) device_add usb-storage,id=usbstick,bus=xhci.0,drive=usbstick,removable=on
(qemu)

With the VM running, the first part of the job was done. But what if the tests don’t work on GitHub Actions? I can’t see the screen. So, for the pipeline, I decided to run Xvfb in the background and use FFmpeg to record the screen. The recording can then be uploaded to the GitHub Actions artifacts, so I can check what went wrong.
The qemu-kvm-action
I wrote a GitHub Action so I could test the code that runs QEMU/KVM independently of EtchDroid, as well as allowing others to reuse my setup. The action sets up the VM, records the screen, and executes a provided test script.
To test the action, I wrote this simple workflow that records a few seconds of the VM while running a simple boot sector game, Boot-Man:
The tests
I chose Appium to interact with the UI for tests. I didn’t do extensive research on the topic, but Appium seemed to work well enough, so I just stuck with it. Initially, I wrote tests in JavaScript but quickly switched to Python and pytest after realizing how bad the JavaScript ecosystem is, especially for testing. I’ve always enjoyed pytest’s conciseness and fixture-based approach, so I rewrote all the tests in Python.
This is what a simple test with pytest and Appium looks like:
@pytest.mark.qemu
def test_unplug_xhci(driver: appium.webdriver.Remote, qemu: QEMUController):
    with device_temp_sparse_file(driver, "etchdroid_test_unplug_xhci_", ".iso", "1000M") as image:
        app.basic_flow(driver, image.filename)
        app.wait_for_write_progress(driver)
        unplug_and_reconnect_usb(driver, qemu)
        app.get_skip_verify_button(driver)
        unplug_and_reconnect_usb(driver, qemu)
        app.wait_for_success(driver)
GitHub Actions workflow
Managing Bliss OS’s large download from SourceForge required caching on GitHub Actions. Once configured, tests were simple to get up and running thanks to my QEMU action. Serial logs, logcat outputs, and screen recordings streamlined debugging. Here’s the complete workflow.
Enjoy the video recording of the tests running in GitHub Actions:
Future improvements
Although the setup greatly improves reliability, issues like VM freezes and occasional random test failures remain. However, this foundation significantly enhances the trustworthiness of app releases, providing a strong starting point for future enhancements.